Google Pay
This section provides step-by-step examples (or *recipes*) showing how to use Google Pay for payments.
Steps
1. Retrieve pretransact keys
The very 1st step is to Retrieve pretransact keys via API. The response will contain initial data for Google Pay payments.
You can get this data via HTTP request or via JS @chargx/sdk
Example of React app using @chargx/sdk:
import { usePayment, AuthData } from "@chargx/sdk";

const CreditCardForm = () => {
  const [isGooglePayAvailable, setIsGooglePayAvailable] = useState(false);

  const [authData, setAuthData] = useState<AuthData>();
  const [googlePayMethodData, setGooglePayMethodData] = useState(null);
  const [googlePaymentRequest, setGooglePaymentRequest] = useState<PaymentRequest>(null);

  const [isSubmitting, setIsSubmitting] = useState(false);

  const {
    pretransact,
    load,
    transact,
    dispatchData,
    checkCustomerLoyaltyPoints,
  } = usePayment("your-publishable-key-here", "https://api.chargx.io");

   useEffect(() => {
    pretransact().then((response) => {
      ...
      setAuthData(response.authData);
      setGooglePayMethodData((response as any).googlePay.methodData);
    });
  }, []);

  ...
};
2. Check Google Pay availability
if (window.PaymentRequest) {
  const details = {
    total: {
      label: "Total",
      amount: {
        currency: "USD",
        value: 10,
      },
    },
  };

   const request = new PaymentRequest(googlePayMethodData, details);
   const canMakePayment = await request.canMakePayment();
   if (canMakePayment) {
    setIsGooglePayAvailable(true);
    setGooglePaymentRequest(request);
   }

   // if canMakePayment is true then we can display GooglePay button
}
3. Pay with Google Pay
Show Google Pay button and assign onClick handler which will charge the card and after to perform transact request to Payment Gateway:
<button
  type="button"
  onClick={handleGooglePay}
  className="w-full bg-black text-white hover:bg-black/90"
>
  <svg
    className="h-5 w-5 mr-2"
    viewBox="0 0 24 24"
    fill="currentColor"
  >
    <path d="M12.48 10.92v3.28h7.84c-.24 1.84-.853 3.187-1.787 4.133-1.147 1.147-2.933 2.4-6.053 2.4-4.827 0-8.6-3.893-8.6-8.72s3.773-8.72 8.6-8.72c2.6 0 4.507 1.027 5.907 2.347l2.307-2.307C18.747 1.44 16.133 0 12.48 0 5.867 0 .307 5.387.307 12s5.56 12 12.173 12c3.573 0 6.267-1.173 8.373-3.36 2.16-2.16 2.84-5.213 2.84-7.667 0-.76-.053-1.467-.173-2.053H12.48z" />
  </svg>
  Google Pay
</button>
const handleGooglePay = async () => {
setIsSubmitting(true);
try {
const response = await googlePaymentRequest.show();
// https://developers.google.com/pay/api/web/reference/response-objects#PaymentMethodData
const paymentMethodData = response.details.paymentMethodData;
//
// An envelope containing a signed, encrypted payload, should be sent to PG to decrypt and process it
const encryptedPaymentToken = paymentMethodData.tokenizationData.token;
await transact({
currency: "USD",
amount: 10,
type: "fiat",
opaqueData: {
dataDescriptor: "COMMON.GOOGLE.INAPP.PAYMENT",
dataValue: window.btoa(encryptedPaymentToken),
},
customer: {
name: "...",
email: "...",
phone: "...",
},
billingAddress: {
street: "...",
unit: "...",
city: "...",
state: "...",
zipCode: "...",
countryCode: "...",
phone: "...",
}
})
// Complete the payment
await response.complete("success");
//
} catch (error: any) {
console.error("Google Pay error:", error);
} finally {
setIsSubmitting(false);
}
}Testing
For testing Google Pay payments you can use test cards from Test card numbers section from Testing Guide page.
Going Live
When you're ready to start accepting real payments (PROD mode), you have to do 2 things:
- Create Google Pay MerchantId and set it in ChargX Dashboard
- Verify your website domain with Google
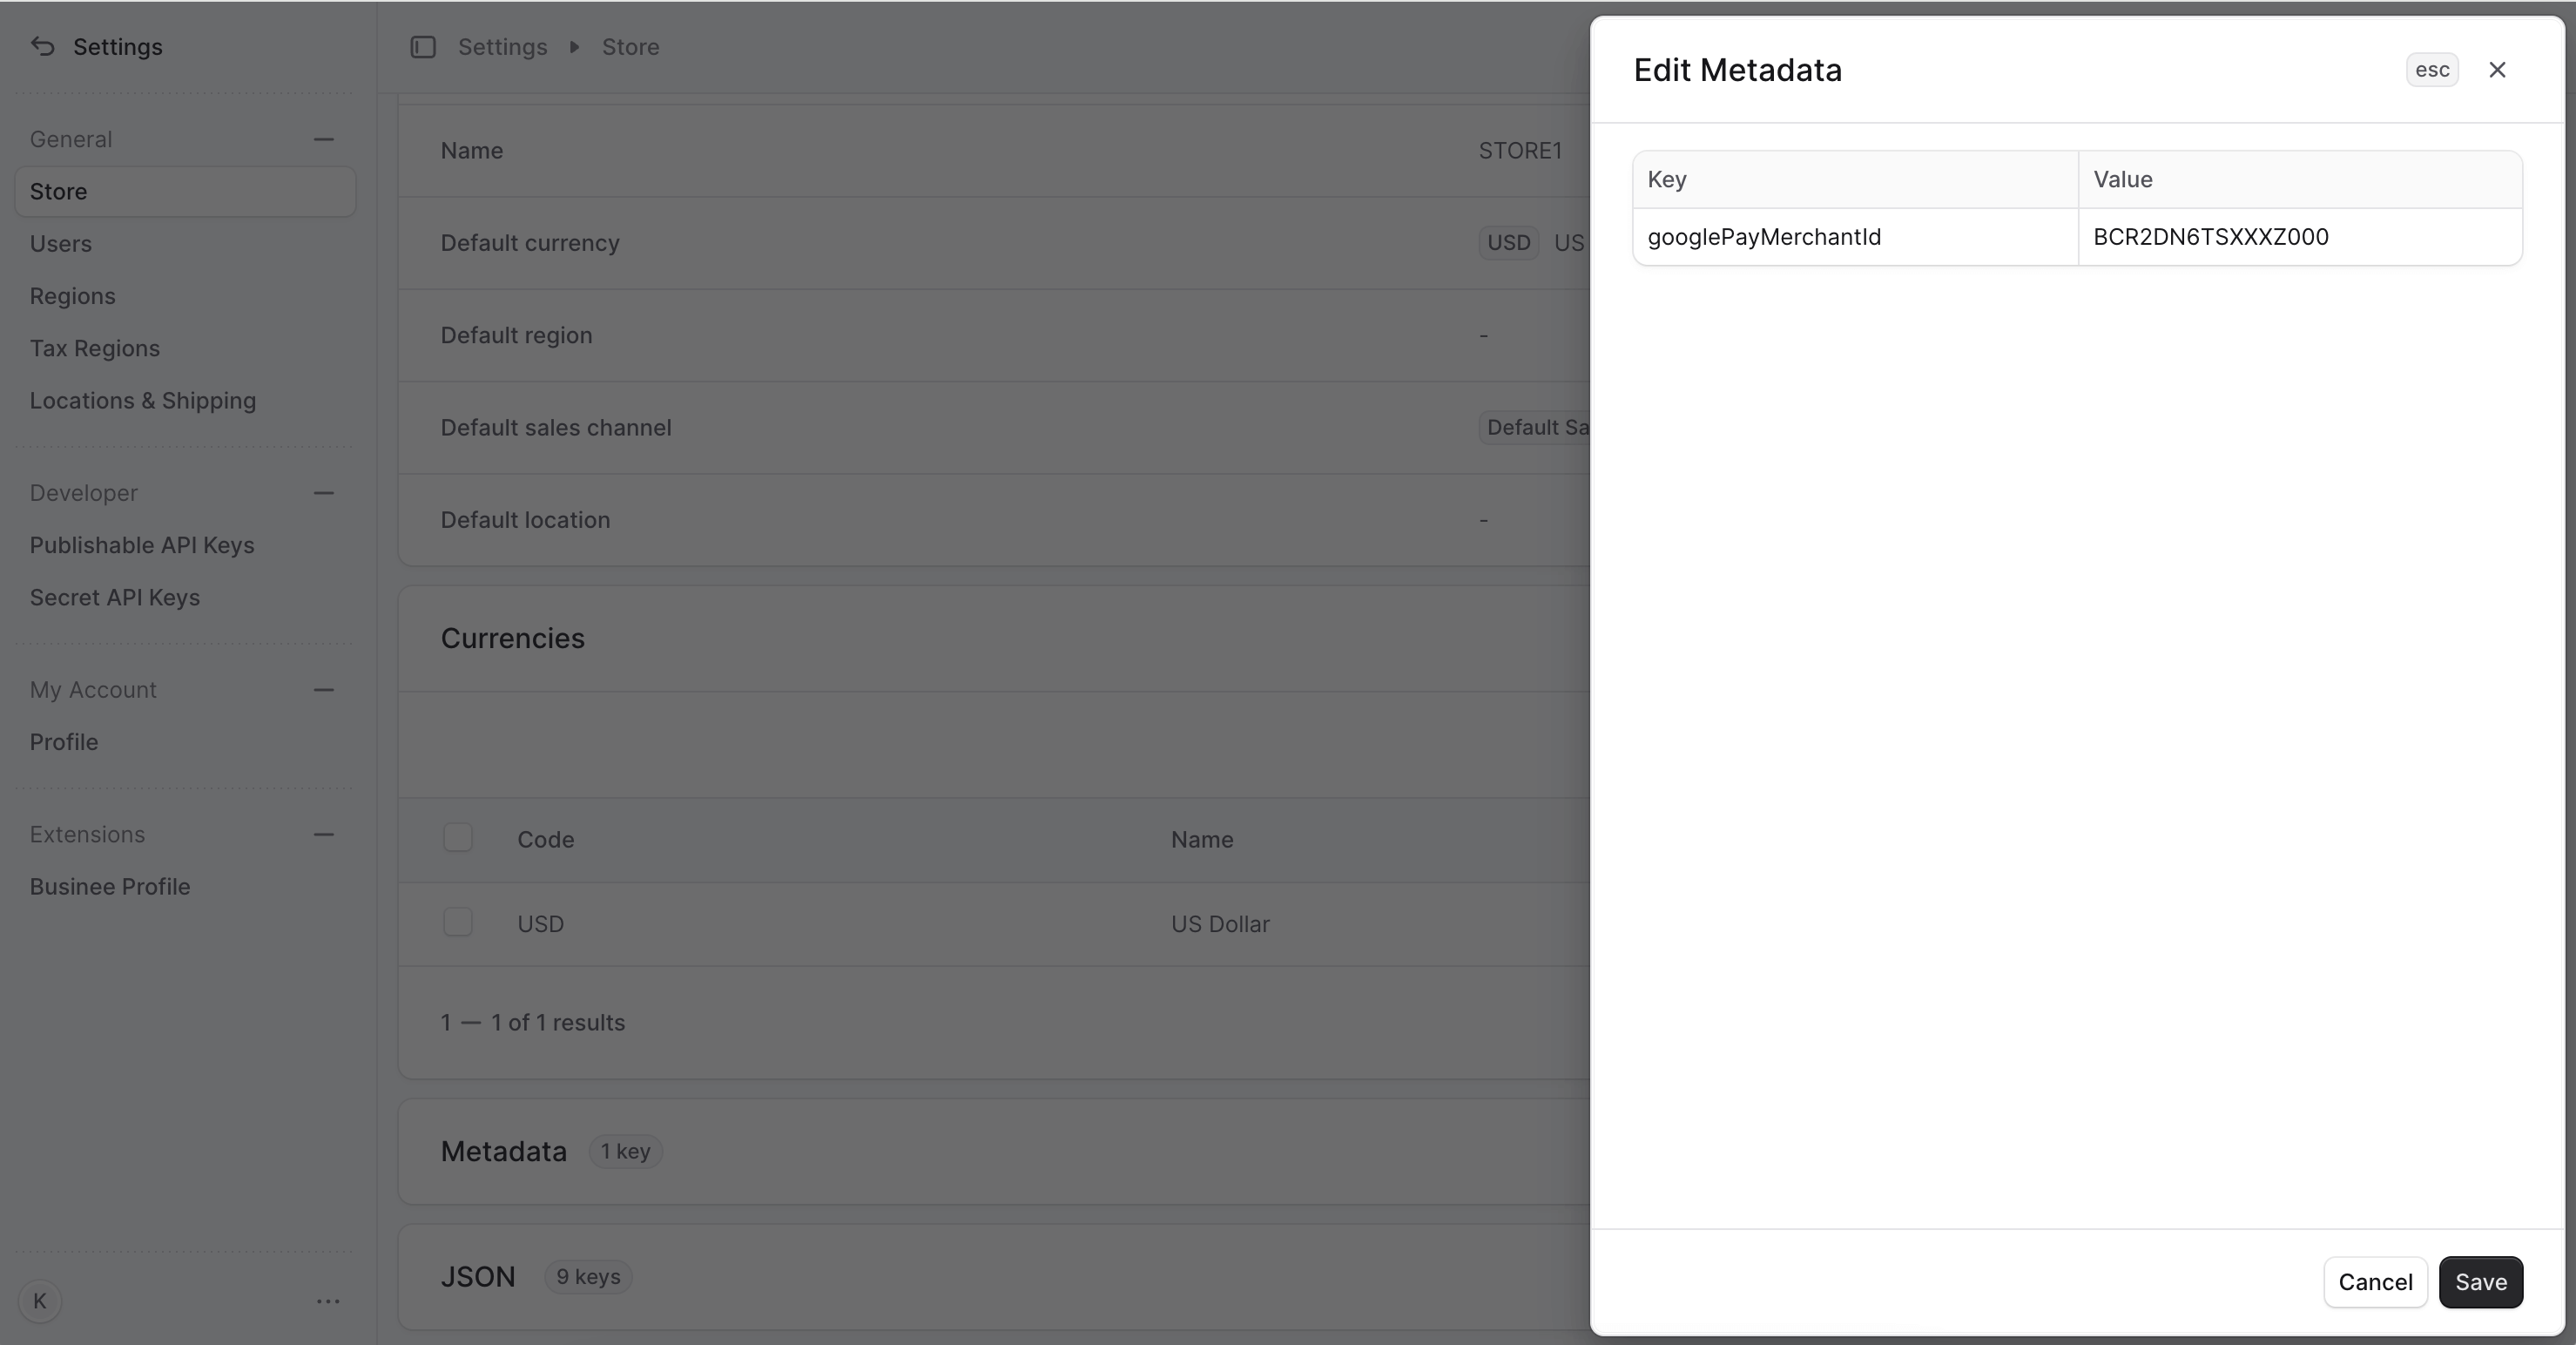
Create Google Pay MerchantId and set it in ChargX Dashboard
Follow Create your profile guide from Google to obtain a merchant ID.
Once obtained, navigate to ChargX Dashboard, Settings -> Store -> Edit Metadata and add new key googlePayMerchantId with the value of merchant ID.
Verify your website domain with Google
Follow Integrate your website guide from Google to verify your website domain.
Once approved, you are ready to use Google Pay in production.